The Ankle Has Four Corners and You Probably Only Use One
This is Ashtanga Tech Support — long-form, mechanism-first conditioning pieces for the joint actions the practice quietly demands and rarely trains directly.
The question that prompts this
Some version of: “Why does my front foot keep collapsing in Trikonasana?” or “Why do I get pinching in the front of my ankle in Utkatasana?” or “Why can’t I get my heel down in a low lunge?” or “Why does my ankle wobble in Sirsasana?”
All four questions are the same question. The ankle is a joint complex with four functional corners, and most yoga students live in one of them — the dorsiflexion-with-slight-inversion corner that walking demands — and have lost active control of the other three. The practice asks for all four. The body compensates somewhere up the chain. The student blames the hip.
Let’s fix the ankle.
Anatomy in one paragraph
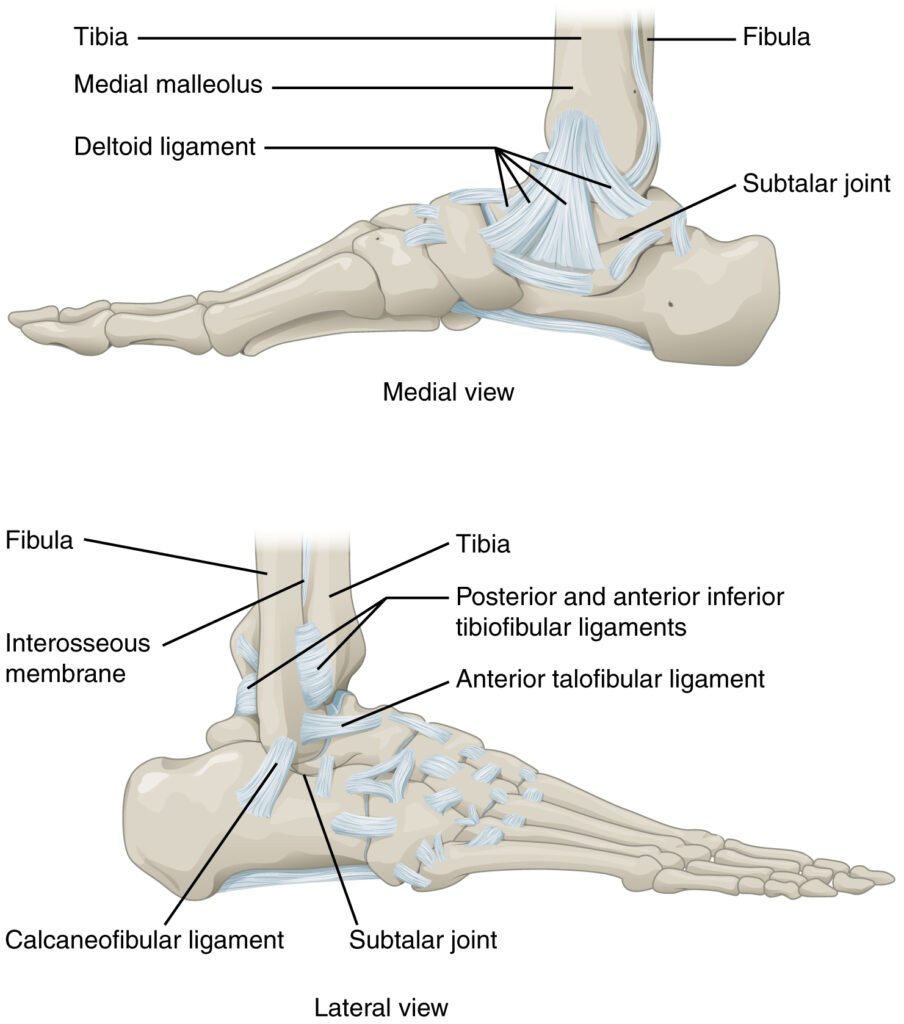
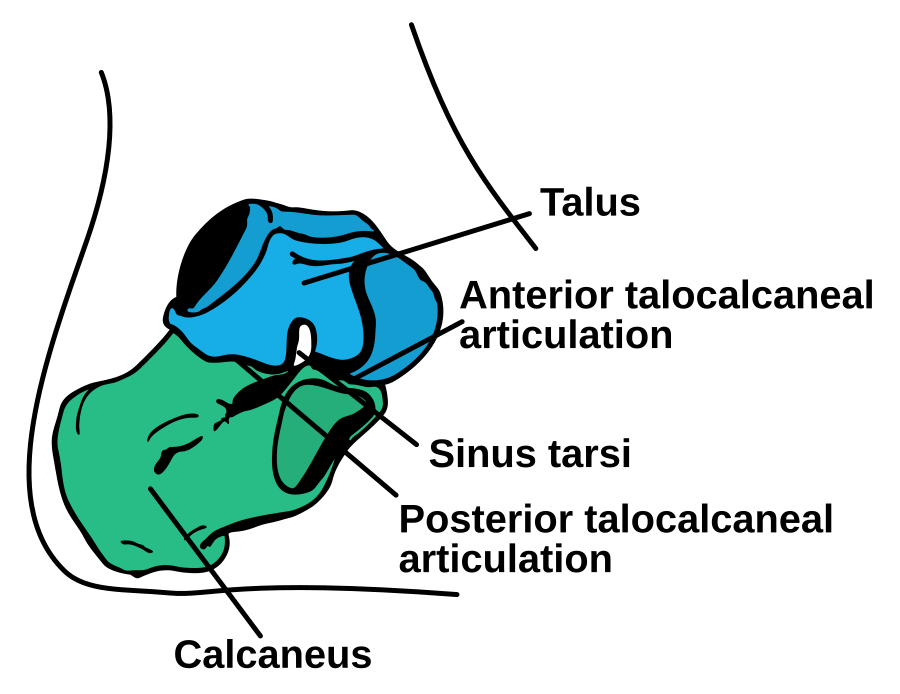
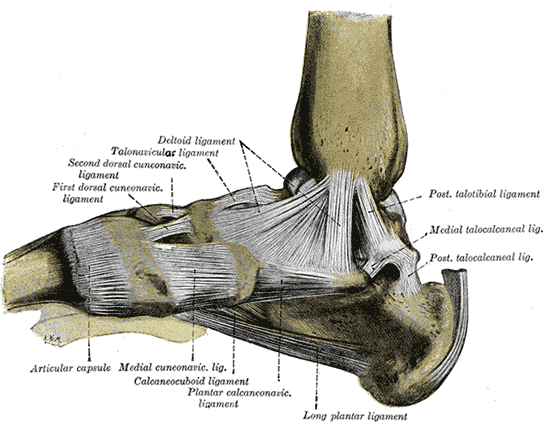
The “ankle” you’re picturing is actually two joints working together. The talocrural joint (tibia/fibula on talus) does most of dorsiflexion and plantarflexion — the up-and-down. The subtalar joint (talus on calcaneus) does most of inversion and eversion — the side-to-side. They never work in isolation. Real-world ankle motion is coupled — when you dorsiflex you tend to evert slightly; when you plantarflex you tend to invert slightly. This is called the screw-home mechanism of the foot, and it’s why training the four corners as discrete positions matters: the body’s defaults will not give you full access to all of them. The musculature: gastrocnemius and soleus on the back, tibialis anterior on the front, peroneals on the lateral side (eversion), tibialis posterior on the medial side (inversion). FRC trains all of them through neurological ownership of position, not stretching.
Assessment: the four corners
Sit. Bare feet. Each side independently. Hands off — purely active.
- Dorsiflexion + Eversion (foot lifts toward shin, sole turns slightly outward) — the lateral-anterior corner. Most students feel pinching in the front of the ankle.
- Dorsiflexion + Inversion (foot lifts toward shin, sole turns inward) — the medial-anterior corner. Most students cannot find this actively at all.
- Plantarflexion + Eversion (foot points, sole turns out — the “sickled-out” pointed foot) — the lateral-posterior corner. Required for half-lotus foot positioning.
- Plantarflexion + Inversion (foot points, sole turns in — the “sickled-in” pointed foot) — the medial-posterior corner. The position your foot wants to find when the peroneals are weak.
Reference videos for each corner
One short clip per corner so you know what each position looks like before you try to feel it. Watch, then sit, bare feet, and hunt for the same shape in your own ankle.
1. Dorsiflexion + Eversion (lateral-anterior corner)
FRC dorsiflexion + eversion PAIL/RAIL stretch — the position itself, demonstrated.
Watch: 1. Dorsiflexion + Eversion (lateral-anterior corner)
2. Dorsiflexion + Inversion (medial-anterior corner)
FRC ankle mobility training overview — covers the dorsiflexion corner with the tibialis posterior loading that pure DF+EV videos skip.
Watch: 2. Dorsiflexion + Inversion (medial-anterior corner)
3. Plantarflexion + Eversion (lateral-posterior corner)
Eversion PAILs/RAILs — same drill that anchors Protocol 4 below; watch first to recognize the corner in your own foot.
Watch: 3. Plantarflexion + Eversion (lateral-posterior corner)
4. Plantarflexion + Inversion (medial-posterior corner)
Inversion PAILs/RAILs (the "train the sprain" drill) — the position the foot wants to collapse into when the peroneals are weak, trained on purpose.
Watch: 4. Plantarflexion + Inversion (medial-posterior corner)
The asymmetries reveal everything. The corner you cannot reach is the corner the practice is asking you to use.
Protocol 1: Ankle CARs (start here, every day)
The four-corner sweep. The diagnostic. The morning baseline.
How:
- Seated, knee stable, lower leg locked so only the ankle moves.
- Stabilize the shin with the hands if needed — this is not a leg movement, it’s an ankle movement.
- Trace the largest possible circle with the foot, hitting all four corners deliberately.
- Direction 1: dorsiflex → evert → plantarflex → invert → return. 5 reps.
- Direction 2: dorsiflex → invert → plantarflex → evert → return. 5 reps.
- Slow. Controlled. 100% effort means the joint is doing maximum work, not the body straining.
The test inside the test: watch where the circle breaks. The flat spot is your weakest corner. That’s where the PAILs/RAILs go.
Reference video — Functional Range Conditioning Ankle CARs (official):
Watch:
Protocol 2: Dorsiflexion + Eversion PAILs/RAILs
The lateral-anterior corner. For Trikonasana’s front foot, for Parsvakonasana’s grounded heel, for Utkatasana without the front-of-ankle pinch.
Setup: Half-kneeling lunge. Front foot flat, knee tracking forward over the pinky toe. Drive the front knee diagonally outward over the foot — this loads dorsiflexion + eversion simultaneously. Find the first end-range, not the last.
The sequence:
- Passive stretch — 2 minutes. Heel stays glued to the floor.
- PAILs — 10 seconds. Press the foot down and outward into the floor (toward plantarflexion + inversion) at 20% effort, ramping to 100%.
- RAILs — 10 seconds. Now actively pull the knee deeper into dorsiflexion + eversion, lifting through the lateral arch. 100% effort.
- Passive return — 60 seconds.
- Repeat 2–3 rounds.
This corner is the one that gets pinchy. If you feel anterior impingement, back the knee off ~10° and work there — the joint will open with consistent dosing.
Protocol 3: Dorsiflexion + Inversion PAILs/RAILs
The medial-anterior corner. The corner most students don’t know they have. For Janu Sirsasana C’s foot positioning, for Vatayanasana’s standing leg, for cleaning up the medial collapse you didn’t know you were doing.
Setup: Half-kneeling lunge again. Same front-foot position, but this time drive the front knee diagonally inward across the body, loading dorsiflexion + inversion. The lateral side of the foot will want to lift — let it work to stay grounded.
The sequence:
- Passive stretch — 2 minutes.
- PAILs — press the foot down and inward (toward plantarflexion + eversion), 100% over 10 seconds.
- RAILs — pull the knee deeper into dorsiflexion + inversion, 10 seconds.
- Passive return — 60 seconds.
- Repeat 2–3 rounds.
This protocol will reveal whether your tibialis posterior is online. Most adult feet have outsourced this work to passive structures (the spring ligament, the deltoid). Get it back.
Reference video — Ankle Dorsiflexion PAILs/RAILs (general technique, applies to both anterior corners):
Watch:
Protocol 4: Plantarflexion + Eversion PAILs/RAILs
The lateral-posterior corner. For Padmasana foot position. For half-lotus where the foot turns out into the hip crease. For the peroneals you’ve been ignoring.
Setup: Sit on heels, hero pose / virasana shape. Tops of feet on the floor, plantarflexed. Now actively press the lateral edge of the foot down into the floor, lifting the medial arch — this is plantarflexion + eversion. You will feel it in the outer shin.
The sequence:
- Passive position — 90 seconds. Settle in.
- PAILs — press the lateral edge of the foot harder into the floor while resisting any inversion drift, 100% for 10 seconds.
- RAILs — actively pull the medial side of the foot up off the floor while keeping the lateral side anchored — fire the peroneals against the floor’s resistance, 10 seconds.
- Rest 60 seconds.
- Repeat 2–3 rounds.
Reference video — Ankle Eversion PAILs/RAILs:
Watch: 3. Plantarflexion + Eversion (lateral-posterior corner)
Protocol 5: Plantarflexion + Inversion PAILs/RAILs
The medial-posterior corner. The “sickled foot” position — but trained on purpose, with strength, instead of slumping into it. For Virasana, for Padmasana on the other side of the joint, for jump-back foot transitions where the foot needs to turn under cleanly.
Setup: Same virasana base. Now actively press the medial edge of the foot down, lifting the lateral arch off the floor. This is plantarflexion + inversion under load.
The sequence:
- Passive — 90 seconds.
- PAILs — press the medial foot harder into the floor, resisting eversion drift, 100% for 10 seconds.
- RAILs — pull the lateral edge of the foot up off the floor while keeping the medial side anchored, 10 seconds.
- Rest 60 seconds.
- Repeat 2–3 rounds.
A note on Protocols 4 and 5: most students will cramp the bottom of the foot or the front of the shin in the first two weeks. This is the intrinsic foot musculature and the deep posterior compartment waking up. Cramping is a feature, not a bug. Hydrate. Continue.
Reference video — Plantarflexion + Inversion PAILs/RAILs (the “train the sprain” drill):
Watch: 4. Plantarflexion + Inversion (medial-posterior corner)
End-Range Work
Once CARs are clean and PAILs/RAILs are tolerable, the dose-response work begins. End-range is where the practice actually lives.
End-Range Drill 1: Loaded Squat-Sit (anterior corners)
Deep squat, heels down, hands on the floor in front. Sit there. 30 seconds → build to 3 minutes. Add micro-shifts side-to-side to load dorsiflexion+eversion and dorsiflexion+inversion alternately. This is Utkatasana’s prerequisite.
End-Range Drill 2: Loaded Virasana (posterior corners)
Sit on heels, virasana. 30 seconds → build to 3 minutes. Micro-shift weight medial and lateral over the feet to dose plantarflexion+inversion and plantarflexion+eversion. This is Padmasana’s prerequisite.
End-Range Drill 3: Single-Leg Balance with Active Foot
Stand on one leg, eyes closed, 30 seconds. The foot will demand all four corners in real time. This is the integration test. If you cannot hold this without ankle wobble, return to Protocols 2–5 for another four weeks.
The point is not to stretch into end range. The point is to own end range. Different mechanism, different result.
Where this shows up in the practice
| Pose | Joint Action | What ankle ownership delivers |
|---|---|---|
| Utthita Trikonasana | dorsiflexion + eversion (front foot) | a heel that doesn’t lift, an arch that doesn’t collapse |
| Parivrtta Trikonasana | dorsiflexion + eversion (front foot) | rotational stability through the standing leg |
| Utthita Parsvakonasana | dorsiflexion + eversion + ankle dorsiflexion (front) | a knee that tracks, a heel that grounds |
| Parivrtta Parsvakonasana | dorsiflexion + eversion (front) + plantarflexion (back) | both ankles working, not just one |
| Prasarita Padottanasana A–D | bilateral dorsiflexion + eversion | a wide stance that doesn’t roll inward |
| Parsvottanasana | dorsiflexion + inversion (front), bilateral demand | foot architecture under the long line |
| Virabhadrasana A | dorsiflexion + inversion (front foot) + back-foot inversion | clean alignment top to bottom |
| Virabhadrasana B | dorsiflexion + eversion (front), eversion (back) | the back foot that doesn’t quietly invert |
| Utkatasana | bilateral deep dorsiflexion | no front-of-ankle pinch, no rolled-in knees |
| Krounchasana | dorsiflexion + plantarflexion + inversion + eversion | the four corners on display |
| Bhekasana | plantarflexion + inversion (loaded) | feet that descend toward the hips without complaint |
| Pasasana | deep dorsiflexion under load | the squat that isn’t lifting heels |
| Janu Sirsasana C | dorsiflexion + inversion (active) | the foot vertical position the pose actually requires |
| Vatayanasana | inversion (standing foot) | a base that holds the half-lotus weight |
| Padmasana / half-lotus entries | plantarflexion + eversion | the foot fold that doesn’t torque the knee |
| Sirsasana A/B, Sarvangasana, Pincha Mayurasana | active four-corner balance | feet that participate in the line |
Programming
Beginner / pre-protocol:
- Ankle CARs daily, 90 seconds per side
- 4 weeks before adding PAILs/RAILs
- End-range drills as tolerated
Established practitioner:
- Ankle CARs daily before practice
- One PAILs/RAILs corner per day, rotating through all four (4-day cycle)
- End-Range Drill 1 or 2 daily, 90 seconds
- Single-leg balance test weekly
Advanced / teaching: All of the above, plus pre-screen every student’s four-corner CARs before correcting their Trikonasana. Half the time the “alignment problem” is a missing corner of the ankle.
A note on chronic ankle instability
If you have a history of multiple ankle sprains and the joint feels “loose” laterally, you almost certainly have impaired peroneal control — Protocol 4 (plantarflexion + eversion) is the priority, alongside dedicated single-leg balance work. If you have post-surgical hardware or recent significant injury, get cleared by a sports-medicine professional before loading end-range. Then come back and condition what is conditionable.
The ankle is not a hinge. It’s a four-cornered joint complex that the practice will use whether you’ve trained it or not. Train it.
Further Reference
Each video below opens inline — click to expand. The full FRC playlist link is at the bottom.
Watch: FRC Ankle CARs (official)
Watch: Ankle Dorsiflexion PAILs/RAILs
Watch: Ankle Eversion PAILs/RAILs
Watch: Ankle Plantarflexion + Inversion PAILs/RAILs (Train the Sprain)
Watch: FRC Ankle Mobility Training (overview)
Watch: FRC PAIL/RAIL — Ankle Dorsiflexion & Eversion Stretch
Watch: Functional Anatomy Seminars FRC playlist
Functional Range Conditioning® and FRC® are registered trademarks of Functional Anatomy Seminars. Linked videos are referenced for educational purposes; the protocols described here are derived from FRC principles taught through formal certification.
Companion Tech Support: the Lower Limb series
This piece is one of four. The lower limb is a chain — the ankle’s four corners feed the knee’s rotation window, which feeds the hip’s 2×2 matrix, which the hallux finally has to push off from. Train one in isolation and the next one up the chain will quietly compensate. Train the chain.
- Hallux Conditioning — The big toe is a joint. Train it, or the chaturanga pivot will collect rent.
- Hip Adduction × Rotation — The 2×2 matrix of hip adduction with internal and external rotation — Padmasana on one side, Eagle on the other.
- Knee Rotation — Why the knee only rotates when bent, and how the screw-home mechanism protects the rest of the time.
Not sure where to start?
Chat with the intake assistant — tell it about your practice and it’ll point you to what fits.
Talk to the Intake Bot →
Discussion
or explore Student Union